Howdy everyone! I wanted to tell the tale of a short walk with a wagon in the rain followed by some radio tests. I decided I’d like to test moving to my staging area during a disaster response scenario. My goals were to test making contacts with my Yaesu FT3DR and do voice as well as Winlink with my Kenwood TM-V71 and portable Winlink setup. This will also be the first deployment of my Arrow OSJ 146/440 open stub dipole. This model has the split 2m element for easier transport.

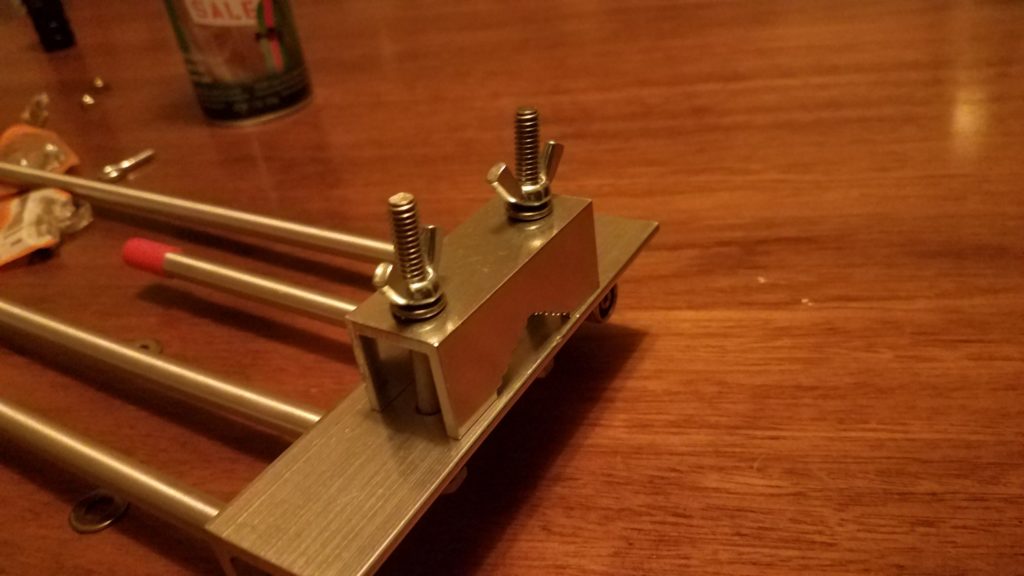
After arriving at my deployment site I removed the 1 5/8″ closet rod from the inside of the speaker stand. The long end of the closet rod stays inside the speaker stand tubing for easy transport. The stop for the closet rod is made from three eye screws that double as guy line connection points. The three eye screws are installed just above the top band of purple duct tape (reduces vibration and motion when the closet rod is installed in the end of the speaker stand).

The next step is to install the top portion of the open stub J-Pole.
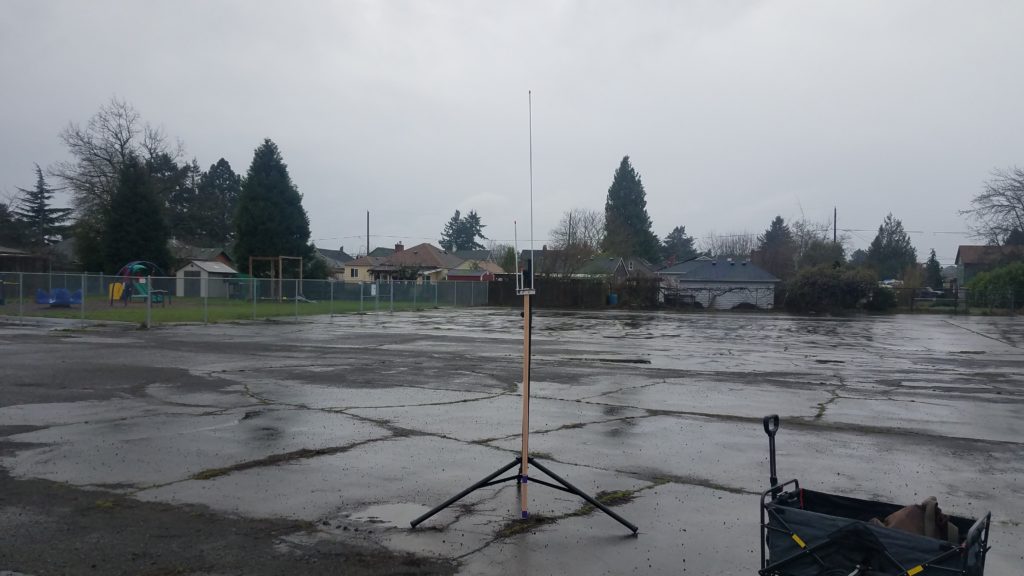
After the feedline is attached to the J-pole the closet rod with the antenna attached is installed in the speaker stand with the tape end of the closet rod in the top of the speaker stand. The closet rod is resting on the three eye screws that prevent it from slipping down inside the speaker stand tubing. The two telescoping sections of the speaker stand are fully extended and the locking pins are in place.
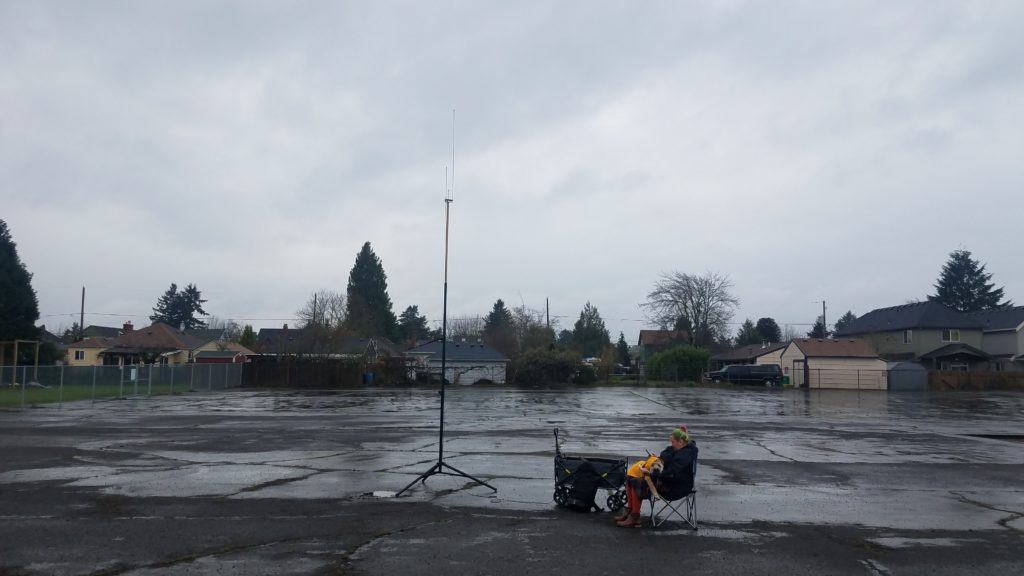


I was able to make a couple contacts using the Yaesu HT at 5w and monitored APRS transmissions for a while. So far everything is good.
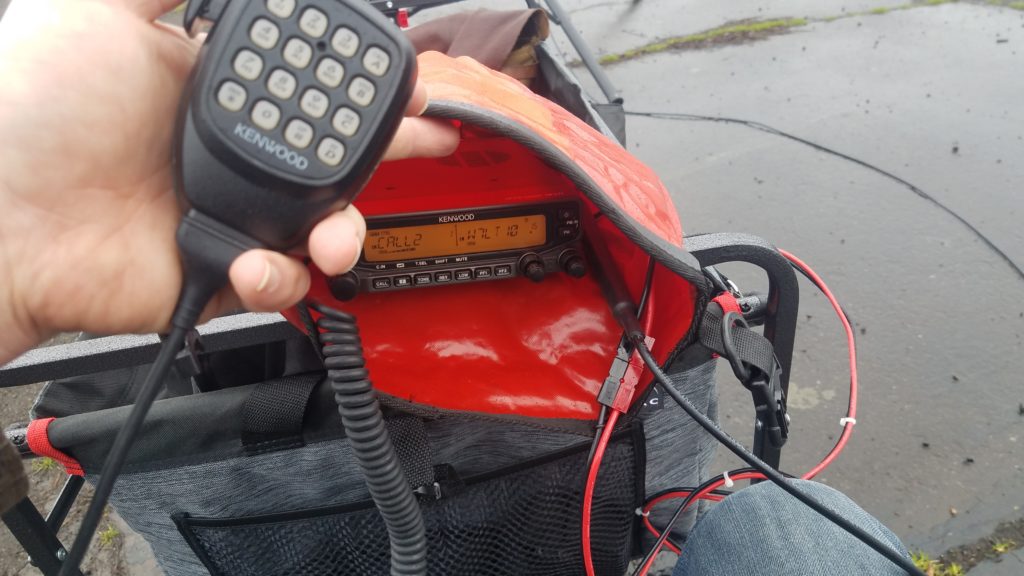
The Yaesu HT is stowed in its bag and the Kenwood mobile radio is connected to battery power and the feedline. It’s also protected from the rain by a 5L Ortleib dry bag. More contacts are made on 2m without issue. I was able to make contacts in Portland, OR, Aloa, OR, Washugal, WA, and Vancouver, WA at 5w. More good news!
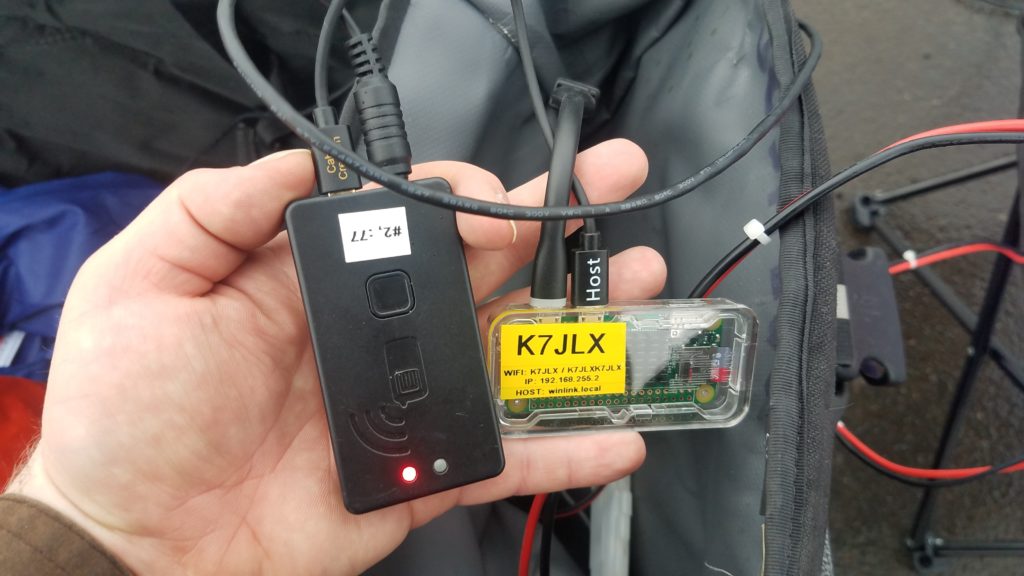
It was finally time to send and receive some e-mail! I connected the Winlink Raspbery Pi to the power supply and the Mobilinkd TNC3 to the data port on the TM-V71. I pulled my phone up, found the generated wireless network, joined it…. and nothing! It partially connects but doesn’t get an IP address. Strange, but no matter. I assigned a manual IP to my phone and tried to connect to the Pi via IP address. The connection still failed. I rebooted the Pi and tried again. The wifi network shows up, I join it, no DHCP IP address. Bummer! All my tests having either been complete or failed it was time to pack up and head home.
At home I boot the Pi and it joins the home wifi network with no issue. I SSH into the Pi and begin reviewing the configuration for Dnsmasq (DHCP/DNS server). Everything looks good and the configuration is valid. I then look at the autohotspot script. It has the default IP address that the script ships with set. Then the “aha!” moment strikes. As part of writing my Winlink host setup guide I re-ran the Autohotspot install script so I could make sure my documentation was right. The fix is now obvious: I just changed the IP address in the Autohotspot script, kicked the Winlink host off my wifi network and restarted it. I’m now able to connect, get an IP address, and connect to Winlink and the documentation server!
Lesson learned… always re-test your setup after you mess with it, and if you re-run a setup script you should verify that your setup runs properly afterward. Fortunately this was not a emergency deployment and was close to my QTH.
Other things I learned from today:
- The wagon doesn’t negotiate steep curbs well without a bit of finesse.
- The antenna mast should be lashed in place on the wagon during transport so it doesn’t move in the wagon.
- The wing nuts on the J-pole can get over-tightened easily making it hard to dismantle the setup.
- The allthread stub that connects the two parts of the 2m element on the J-pole can be unscrewed easily and lost when the element is being removed. I’ve dropped it 3 times in the first 48 hours of having the antenna. Some red or blue Loctite is probably a good idea to keep the end of the stub fixed in the removable portion of the 2m element. The red (permanent) Loctite will also keep moisture out of that joint.
- Sometimes the telescoping tubes on the speaker stand stick.
- I live in NW Oregon and figuring out a wind and rain shelter is probably a good idea.
- The speaker stand is pretty stable and sturdy. It will probably work without guying in mild wind.
