Hello all, while this isn’t actually a post about amateur radio I wanted to post about how we (my partner and I) decided to deal with the June 2021 heatwave in the Pacific Northwest. While this isn’t directly related to ham radio I think it’s worth discussing as the temperatures in this region don’t typically reach the levels they were at and most homes and people aren’t prepared to cope with those temperatures. Some folks will probably laugh at this post and the situation in its entirety, but you have to remember that homes, businesses, animals, and people in what is typically a fairly temperate climate aren’t used to these sorts of temperature spikes. Some of us will mostly be uncomfortable and maybe inconvenienced but for others this is a deadly situation. There are large numbers of unhoused folks sleeping rough and stuck outdoors during this time. It is easy to die of exposure in situations like this even in a city. In nature you might be better or worse off depending on where you are. When operating in the field it’s important to keep yourself and your equipment cool, and I don’t think this is the last time we will have unseasonably hot weather. Next time it could be during another disaster or trigger secondary problems like power outages. This post is mostly about optimizing a solution for a problem with cheap and easily available materials to decrease misery and help alleviate a situation that could lead to an emergency.
One obvious issue with the house we live in during this specific situation is that it has a very large single-paned south-facing window, which definitely heats the house up during the summer. We were fortunate enough to have a single window-mounted AC unit for the whole house but it was only able to keep the house in the high 80s to low 90s which is definitely better than 110+ degrees, but I wasn’t sure if the power grid would hold up under additional load and the heat itself. My partner and I decided we’d take some steps to cool the house further for our comfort and our dog’s safety. The most obvious thing we could do to limit solar gain would be to cover windows that we could with blankets, etc. which helped, but we didn’t have a big enough blanket to cover the window. I wanted to actually keep the heat outside rather than heating a blanket that was already on the inside of the house and having it radiate that heat into the living space. A cheap reflective shield with an air gap between the shield and the house would be a possible solution to the problem.
Problems to solve:
- Keeping as much heat out of the house as possible
- Shielding a large area
- Keeping it simple
- Passive cooling (a plus)
- Temporary mounting
- Not wanting to put tape on paint
- Keeping it cheap

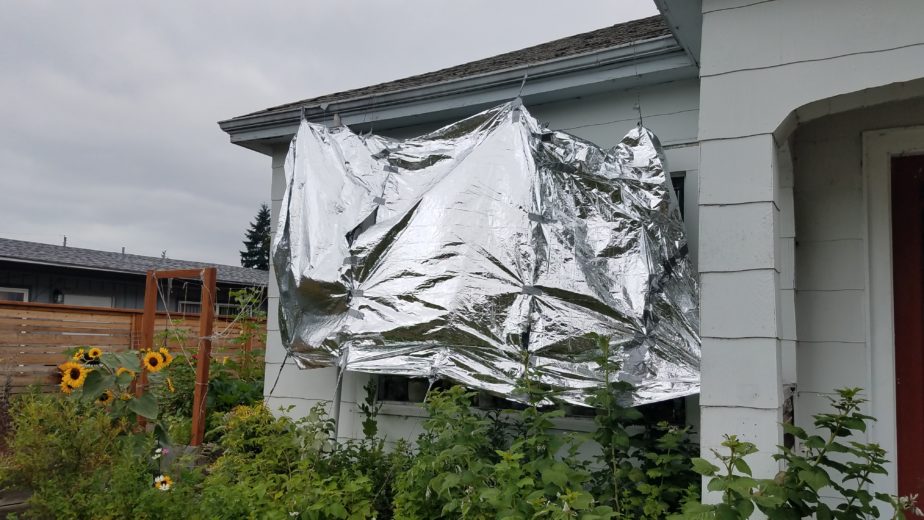
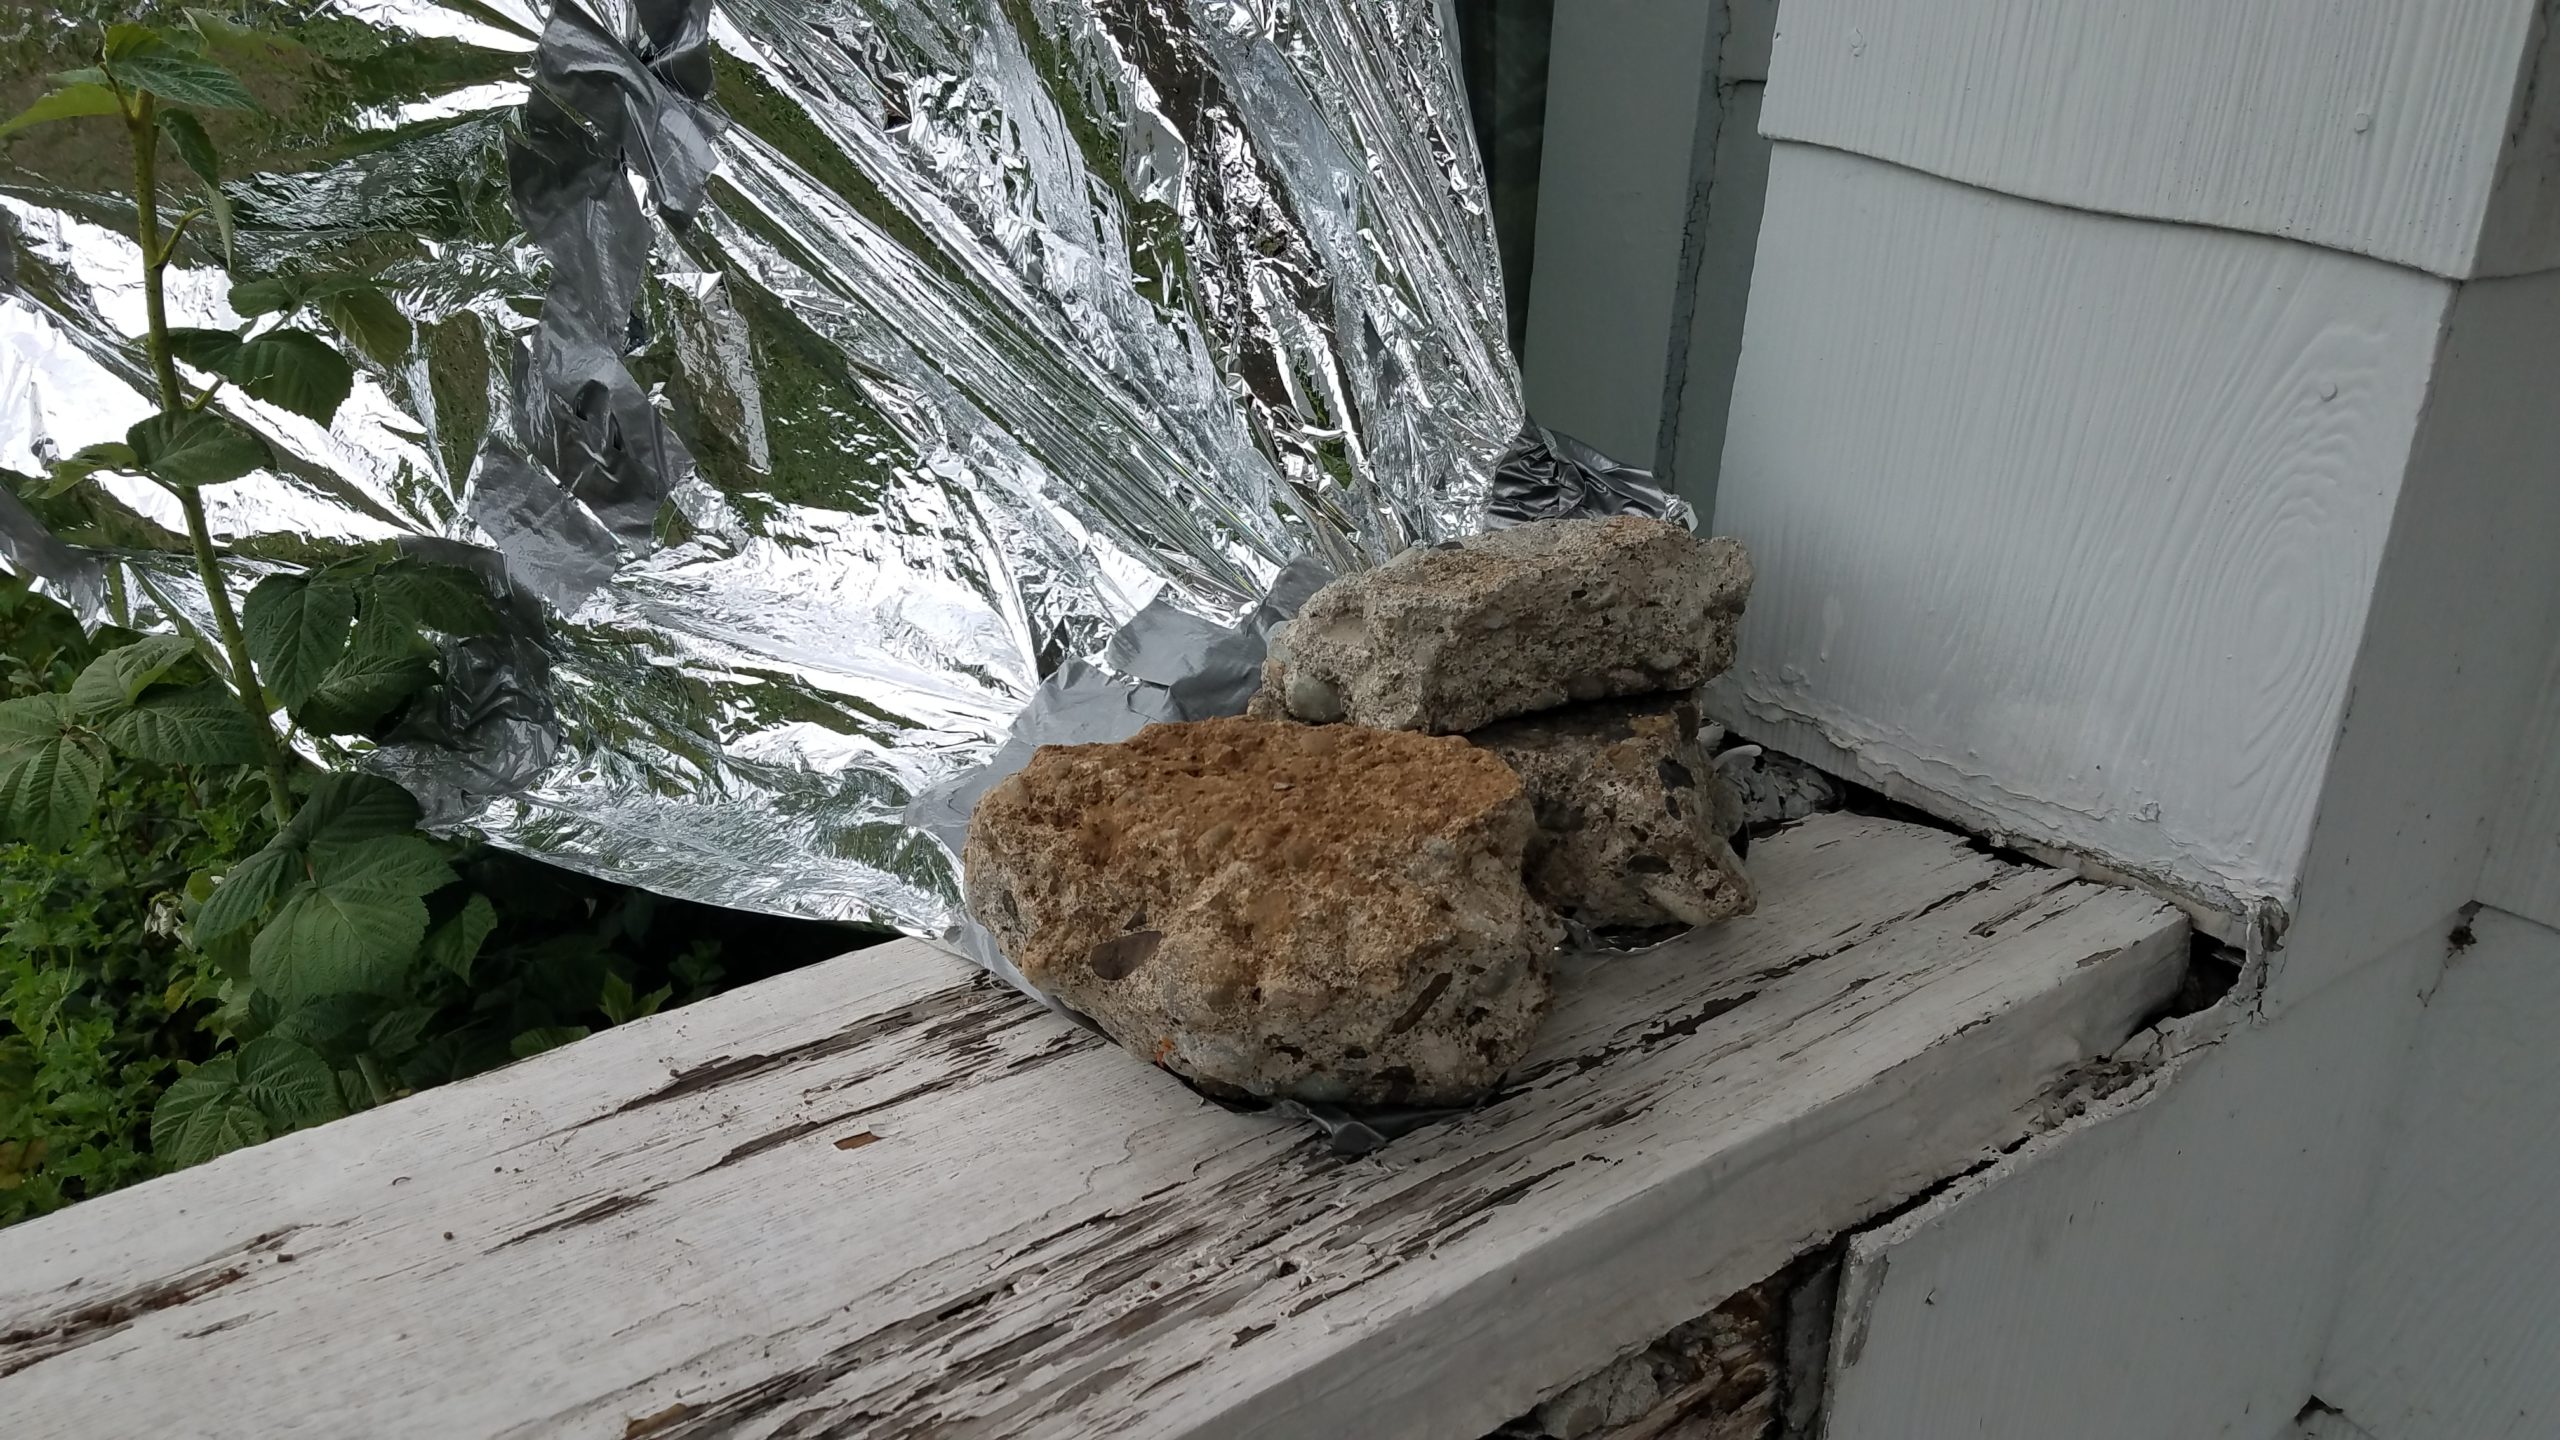
A quick trip to the grocery store yielded the following materials: a roll of duct tape, 50′ of paracord, and 4 mylar blankets (we only needed 3 it turns out). The entire solution cost less than $20, some moderate burns, and sweat. We taped the edges of the mylar blankets on both sides to hold them together and taped across the gap intentionally leaving holes that would be left to ensure the wind loading was lower since this was in part just held up by tape. Our first attempt at the solution was to run paracord from the fence to the gutter, but it required too much paracord and the angle the mylar blanket would be at would be less-than-optimal so I ran the paracord from the ground and weighed the ground ends and center point down with rocks. The end of the paracord attached to the gutter was run between the gutter nails and didn’t require tying or taping. I did, however, end up taping the corner of the mylar blanket to the inside of the rain gutter because there wasn’t a suitable anchor point for paracord near the corner of the house that I wanted to cover. We weighed down one corner with some rocks and were back inside within 35 minutes. Ouch note: ladders get hot in intense sun and gloves are a good idea.
The photos I’m including were taken after day 2. We had to go back out and shore parts of the heat shield up because some of the spots I taped to the paracord slid down. To combat that I just did extra-long wraps of duct tape around the paracord and attached it to the edges of the mylar blankets. I also taped the inside of the shield to the paracord at the bottom to prevent the heat shield from riding up the paracord. The end of the mylar blanket that was weighed down by rocks also tore in the wind/breeze so we coated the corner we stuck the rocks in with duct tape as a protective pad for the mylar. All the photos are this setup are shown below. The air gap between the window and mylar also served as a nice passive cooler. As the breeze and wind blew between the mylar and window it carried some of the heat away. After installing the mylar heat shield the temperature in the house dropped by 10-15 degrees over the next 30 minutes!


Pros:
- Cheap materials that are readily available
- Relatively fast to set up on the fly
- Minimal tooling required to put it up
- Removable
- No tape used where it could remove paint
- Effective at reducing temperature and quickly
Cons:
- One-time use
- Will require cutting to get it down
- Required some maintenance after a day of being up
- Needs a ladder to set up
- Required two people to be outside in the heat on the south face of the house for 35 minutes
- Kinda ugly
- Dealing with duct tape on top of a ladder in wind wearing gloves is a PITA
Lessons learned
- I burned myself on the ladder before getting gloves. Don’t get burned.
- I got sunburned, but when I sweat it dissolves sunscreen so that was expected.
- I should build something prettier ahead of time that’s easy to take up and down but also cheap to build.
- Putting a ladder in the middle of a garden bed without absolutely destroying the (very thorny) plants is hard but doable.
- The mylar blankets in this configuration worked very well!